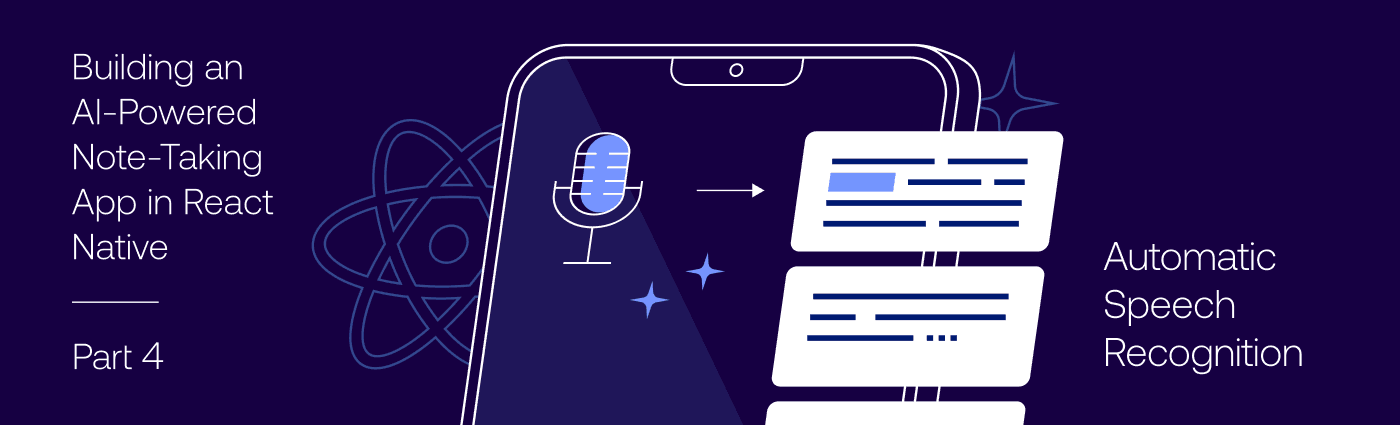
Building an AI-Powered Note-Taking App in React Native — Part 4: Automatic Speech Recognition
 Jakub Mroz•Nov 27, 2025•4 min read
In the previous part of our series, where we’re building an AI-powered note-taking app, we implemented a local RAG (Retrieval-Augmented Generation) assistant that lets you chat with your notes privately and offline.
In today’s final part, we’ll improve the experience even more by adding on-device speech-to-text, so that you can talk to your AI assistant and keep everything fully on your device. So, without further ado, let’s dive in!
Project overview
If you missed part 3 of our series, be sure to check it out as we’ll continue building on the same Expo note‑taking app. To follow along, start from the “retrieval-augmented-generation” branch in this repository.
Our AI note-taking app project has the following structure:
app/
  _layout.tsx           # App navigation
  index.tsx             # App entry point
  notes.tsx             # Notes list screen
  ai-assistant.tsx      # Assistant
  note/
    [id].tsx            # Note editor screen

services/
  notesService.ts       # Handles note creation, updates, and deletion
  storage/
    notes.ts            # Manages local data storage (via AsyncStorage)
  vectorStores/
    textVectorStore.ts  # Text embeddings + vector store
    imageVectorStore.ts # Image embeddings + vector store
    ragService.ts       # RAG setup

types/
  note.ts               # Type definitions for Note objects

constants/
  theme.ts              # App theme configuration
We’ll add automatic speech recognition — powered by on-device speech-to-text models.
What is on-device speech recognition?
On-device automatic speech recognition (ASR) converts spoken audio into text by running an AI model directly on the phone’s processor. This lets you avoid sending any data to remote servers, as required by cloud-based services. To make this work, we’ll use React Native ExecuTorch as the inference engine for local transcription.
This method is ideal for our local AI note-taking app for several key reasons:
- Total privacy — audio recordings never leave the device
- Full offline capability — transcription works perfectly even without an internet connection
- Low latency — by eliminating the network round-trip, transcription is fast and can provide real-time feedback
- No API costs — there are no recurring server or API fees, regardless of the usage
While large server-based models can offer higher accuracy in some cases, our on-device models are more than enough for smooth, reliable note dictation. And you additionally get the benefits of full privacy and offline access.
Packages
To enable on‑device speech recognition in React Native, install:
- React Native ExecuTorch — on‑device AI inference engine for models
- React Native Audio API — native audio control for React Native
Integration steps
1. Configure microphone permissions and the audio plugin
We declare platform permissions and configure the audio plugin. This enables microphone usage:
// app.json

{
  "plugins": [
    [
      "react-native-audio-api",
      {
        "iosBackgroundMode": true,
        "iosMicrophonePermission": "This app requires access to the microphone to record audio.",
        "androidPermissions" : [
          "android.permission.MODIFY_AUDIO_SETTINGS",
          "android.permission.FOREGROUND_SERVICE",
          "android.permission.FOREGROUND_SERVICE_MEDIA_PLAYBACK"
        ],
        "androidForegroundService": true,
        "androidFSTypes": [
          "mediaPlayback"
        ]
      }
    ]
  ]
}
2. Initialize Whisper ASR and streaming microphone capture
We set up SpeechToTextModule and wire it to the microphone via AudioRecorder. Audio buffers are fed directly into the S2T stream for incremental transcription:
// app/ai-assistant.tsx

import { Message, SpeechToTextModule, WHISPER_TINY_EN } from "react-native-executorch";
import { AudioManager, AudioRecorder } from "react-native-audio-api";

const speechToTextModule = new SpeechToTextModule();

// React Native Audio API setup
const recorder = new AudioRecorder({
  sampleRate: 16000,
  bufferLengthInSamples: 1600,
});

AudioManager.setAudioSessionOptions({
  iosCategory: "playAndRecord",
  iosMode: "spokenAudio",
  iosOptions: ["allowBluetooth", "defaultToSpeaker"],
});

AudioManager.requestRecordingPermissions();
recorder.onAudioReady(({ buffer }) => {
  speechToTextModule.streamInsert(buffer.getChannelData(0));
});
3. Start and stop streaming transcription
Starting transcription begins microphone capture and consumes the ASR’s async stream. We combine committed text (finalized) with non‑committed text (in‑progress) for a responsive input experience:
// app/ai-assistant.tsx

const [isTranscribing, setIsTranscribing] = useState(false);
const [inputValue, setInputValue] = useState("");

const handleStartTranscribing = async () => {
  if (!ragIsReady || ragIsGenerating || isTranscribing) {
    return;
  }

  setIsTranscribing(true);
  setInputValue("");
  try {
    recorder.start();

    let committedTranscription = "";
    for await (const { committed, nonCommitted } of speechToTextModule.stream()) {
      committedTranscription += committed;
      setInputValue(committedTranscription + nonCommitted);
    }
  } catch (e) {
    console.error("Transcription failed", e);
  }
  setIsTranscribing(false);
};

const handleStopTranscribing = () => {
  if (!isTranscribing) {
    return;
  }

  recorder.stop();
  speechToTextModule.streamStop();
  setIsTranscribing(false);
};
Results
You can now ask your AI assistant questions and get grounded answers from your own notes — all private, low-latency, and offline!
We are Software Mansion — multimedia experts, AI explorers, React Native core contributors, community builders, and software development consultants. Need help with building your next dream product? You can hire us.