
How to Build and Distribute Any React Native App With New Expo Services
 Dominik Sokal•Dec 13, 2021•9 min read
Software Mansion has been actively contributing to Expo since 2017. In addition to working on open-source parts of Expo, like Expo modules and Expo CLI, we help build and maintain the Expo infrastructure. One of the efforts that we are proud of is our work on Expo’s build service.
Expo announced EAS Build last year. The service lets you build and sign any React Native project for both Android and iOS platforms, from any operating system (even from Windows!). Since the initial release, the service has gone a long way to reach General Availability in November 2021. EAS Build comes with the complimentary service - EAS Submit - that does the heavy lifting when you decide to share your application with the general audience or just submit another build to the store. The new tooling - EAS CLI - integrates seamlessly with your Expo project. You’ll quickly consider it to be another “fast-forward button” from the Expo team.
In this blog post, I’d like to show how to use all the new features that EAS Build and EAS Submit bring to the Expo ecosystem. After a few-minute read, you’ll be able to build and distribute any React Native project using only a few simple commands.
Creating a New Project
Let’s build a project that uses Bluetooth to scan for nearby devices. Adding Bluetooth support was one of the top requested features by mobile developers using Expo. Expo still doesn’t provide its own Bluetooth module, but you can integrate any third-party npm package, like react-native-ble-plx, with your Expo-powered app with minimal effort.
Unlike the classic Expo build service (expo build:[android|ios]), EAS Build supports building React Native projects with custom native code. You can even build an Android or iOS project that does not use React Native at all, but this is an unadvertised feature and requires a bit of hacking.
I initialized my project with expo init and chose the bare template. The bare template includes the native Android and iOS projects. This let me install and configure the react-native-ble-plx package which is one of the most popular options for Bluetooth in React Native.
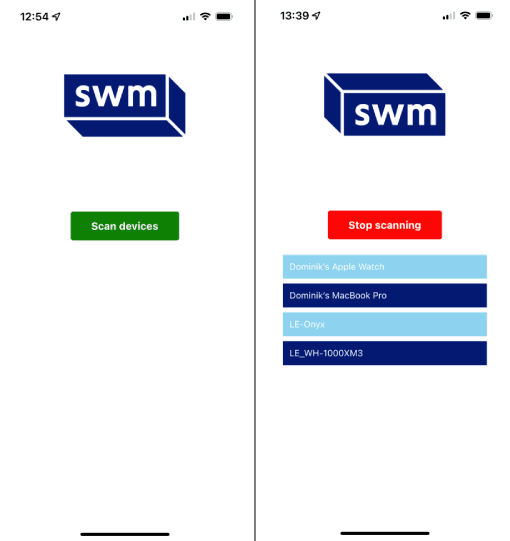
After adding a button to start/stop scanning nearby devices, integrating with Bluetooth, and displaying the device list, the app is ready for distribution.
You can find the app’s source code at https://github.com/dsokal/bluetooth-scanner.
Start Using EAS
Using EAS Build & Submit does not require too much configuration. All you need is the new CLI called EAS CLI. You can install it like any other npm package - npm install -g eas-cli.
Installing the CLI is the first step. The second and last step is configuring the project to be built with EAS Build. Run eas build:configure and choose which platforms you want to configure. Tip: alternatively, you can just run eas build to both configure your project and start a build.
EAS Build & Submit are configured with the eas.json file. EAS CLI uses the concept of build/submit profiles so that you can define your development and production workflows once and then switch between them with the --profile PROFILE_NAME option. The default eas.json looks something like this:
It comes with predefined build profiles that allow you to take advantage of the most powerful Expo/EAS features: Development Builds, Internal Distribution, and credentials management.
Development Builds
Mobile app development can be frustrating. An Android or iOS build of your app can take a few minutes and when you first start building your app, you’ll have to rebuild the project quite often. React Native itself can be an answer to this problem. You usually don’t need to touch the native code, and instead, you’ll change the JavaScript code. Because of that, native project (re)builds don’t take long.
When starting your mobile app project in Expo, you’re equipped with a great tool called Expo Go. It lets you develop your app without the need to build native projects. Install the app onto your phone, run expo start in the project directory, scan the QR code, and start developing. Every time you change the code, the app refreshes in the blink of an eye.
The problem with Expo Go is that it comes with a preset collection of native modules. This is fine for many mobile app use-cases but can be limiting. If you want to use a custom module (e.g. react-native-ble-plx) you won’t be able to properly test your app with Expo Go. Development Builds are the answer to the problem. You can build your custom Expo Go-like client app that will contain all the native modules your app needs. Also, unlike the Expo Go app, the development build won’t include all Expo modules that you don’t use. This makes your custom client app lightweight and closer to your production environment.
To use Development Builds, install theexpo-dev-client package in your project, follow the instructions on the page (only if using bare workflow), and then run eas build --profile development. When building for iOS, you will need to register a device with EAS before it can run your app through Internal Distribution. This step is covered in the next paragraph. Keep in mind that Development Builds are still in preview!
Internal Distribution
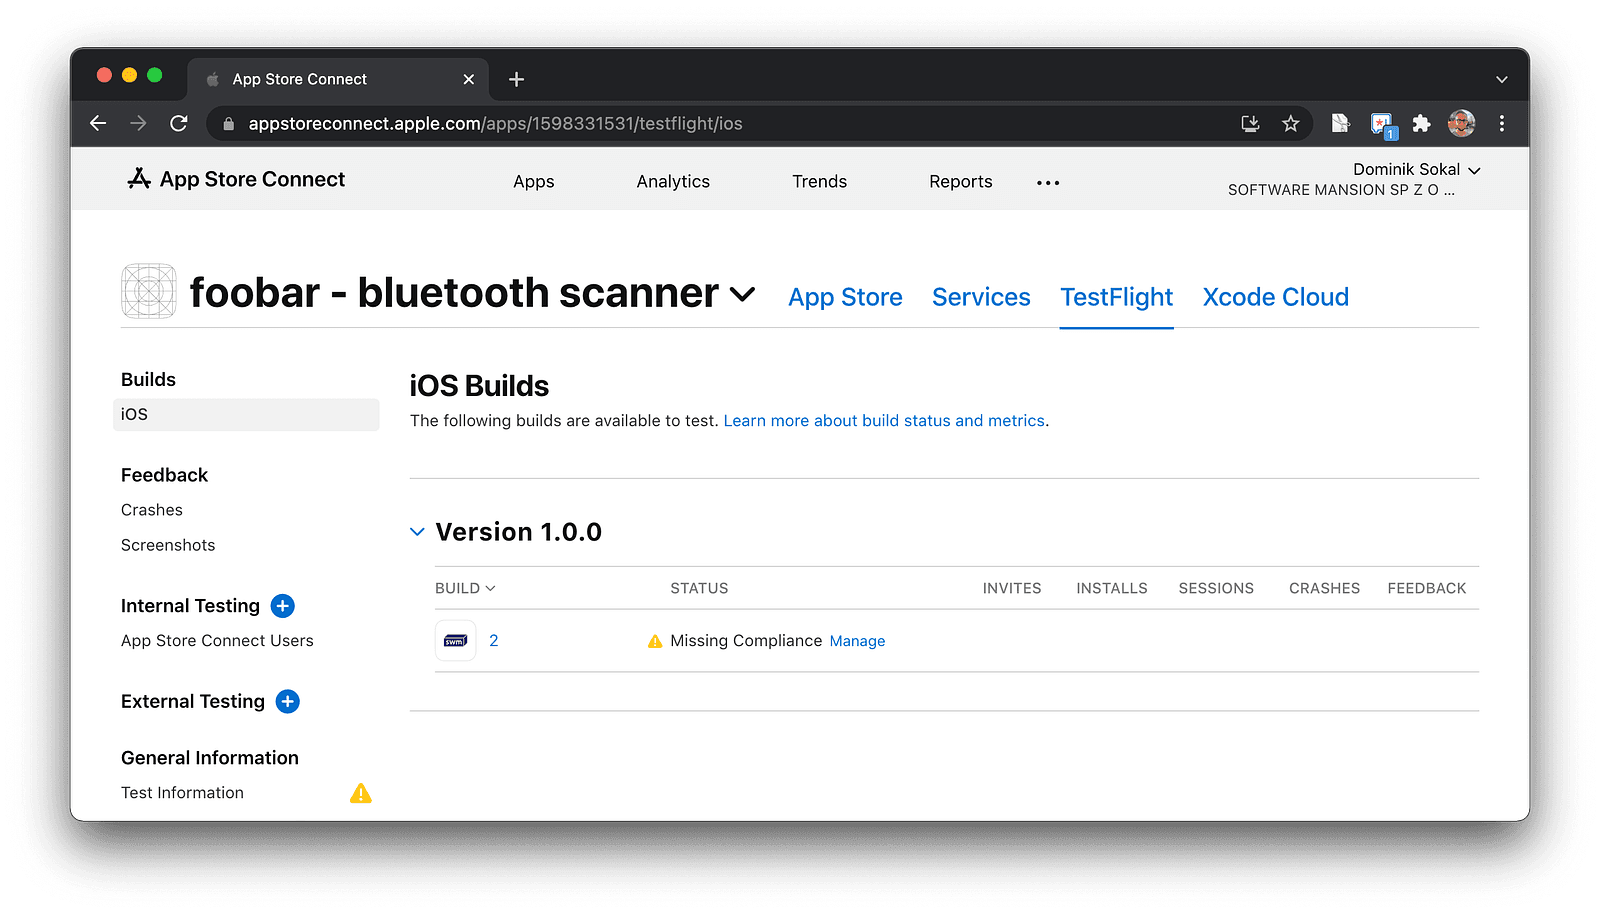
Whenever you’re working on a new feature for your app, you want to make sure it works the way it was designed. This usually involves building your app and sharing it with a QA team. Even though the task is fairly simple on Android (you just need to build an APK instead of AAB), there are a few problems on iOS when using TestFlight:
- The processing time of your new build can take even as long as 30 minutes.
- TestFlight can only have one active build at a time.
- TestFlight app needs to be installed on the iPhone/iPad.
EAS Build streamlines the process of building apps for internal usage with Internal Distribution. Just set "distribution": "internal" in the build profile (or use the predefined build profile - preview) and you can share your build with anyone within a few minutes.
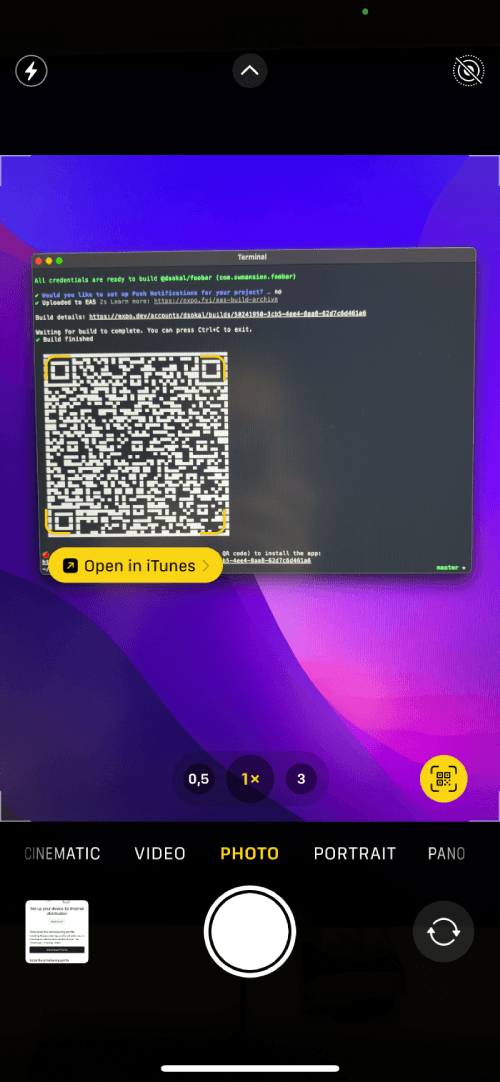
On iOS, you’ll also need to register all devices (iPhones and iPads) with eas device:create but it’s as simple as scanning a QR code and following instructions displayed on the screen.
When you have registered all your devices, run eas build --profile preview and you’ll get a sharable URL for your build (and a QR code). Open it on any of the registered devices and start testing the app with a single click of the installation button.
Building App for Public Distribution
When the time comes (and the QA team approves the latest build) you will want to distribute the app on the Google Play Store and Apple App Store. EAS Build comes in handy not only for you but for your whole team. You configure the project once and the whole team can benefit from that. Everyone added to the Expo organization can run builds the same way as the person who configured the project. Similarly, using the same exact command, you can run a build from CI. On top of that, when building a mobile app, you sometimes need to be an expert on the credentials needed to sign your app (you need to know what’s Distribution Certificate, Provisioning Profile, Push Notifications Key, Keystore, and so on).
EAS Build allows you to build your native project in the cloud, in the already pre-configured environment, and also takes care of credentials management. This means you don’t need to have Android Studio and Xcode installed on your computer. You don’t even need to have a Mac to build an iOS app. Lastly, you don’t need to know what’s a Keystore and even how to generate one.
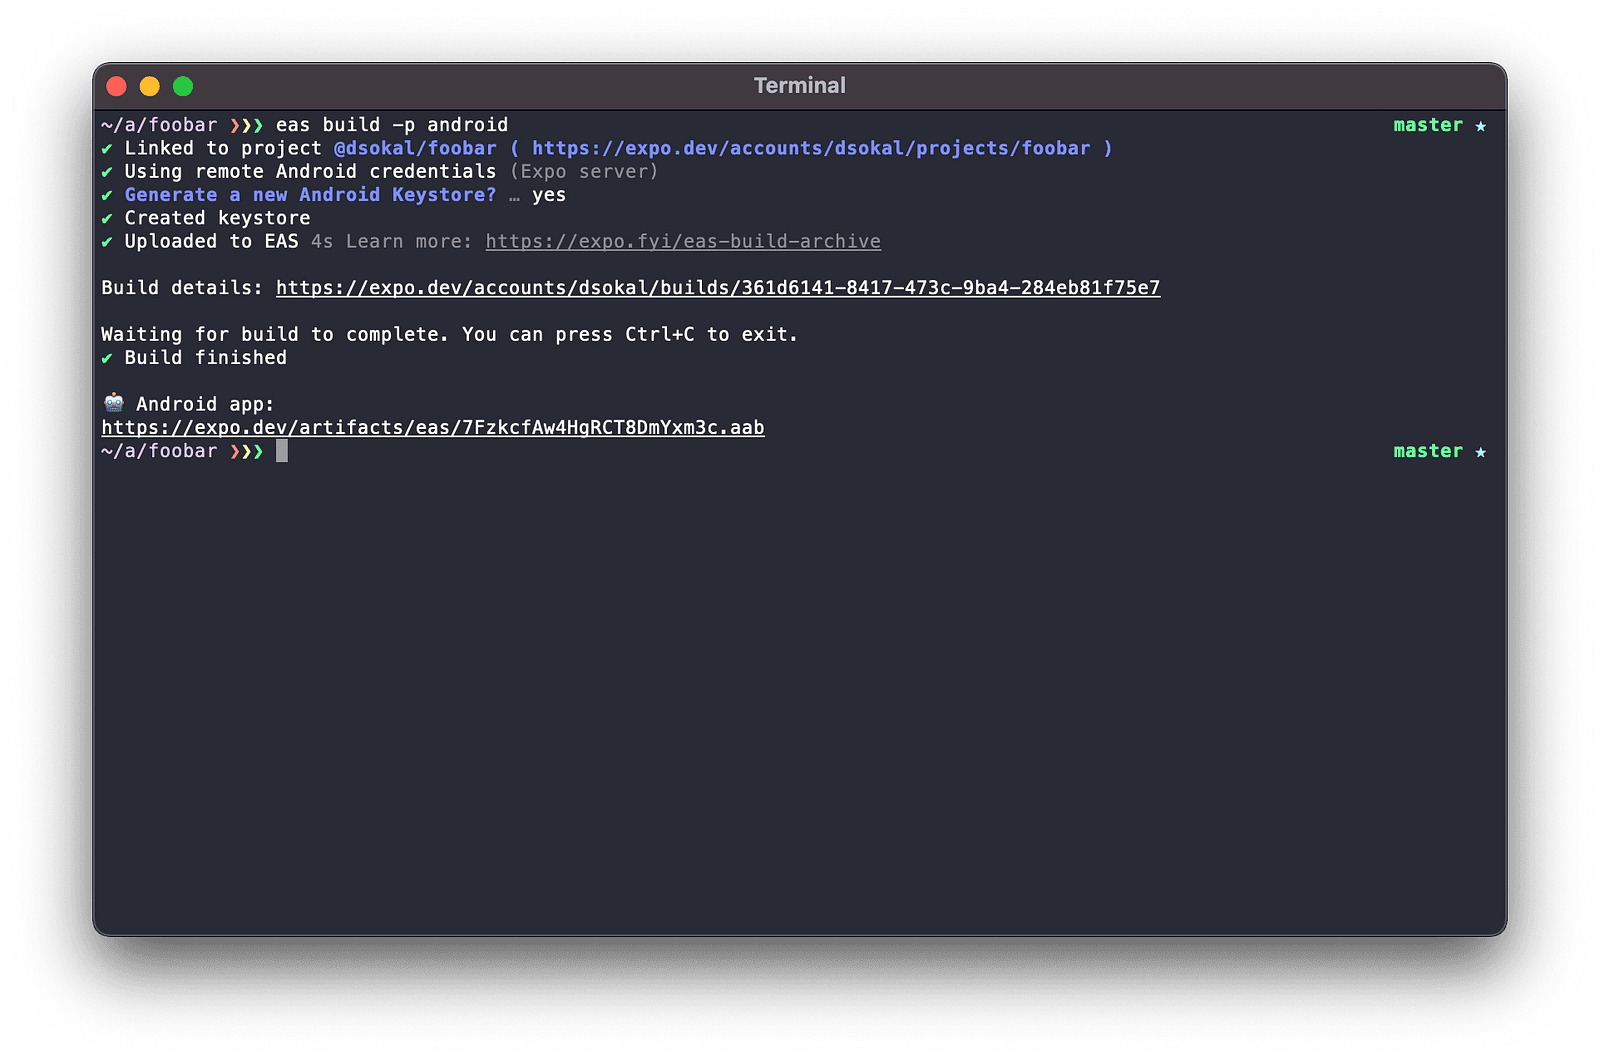
Building a React Native project for store distribution is just a matter of running eas build in the project directory. EAS CLI walks you through the entire credentials management process and prints the URL to the build details page where you can track the build’s progress and view build logs. When the build completes you’ll get a URL to the build artifact.
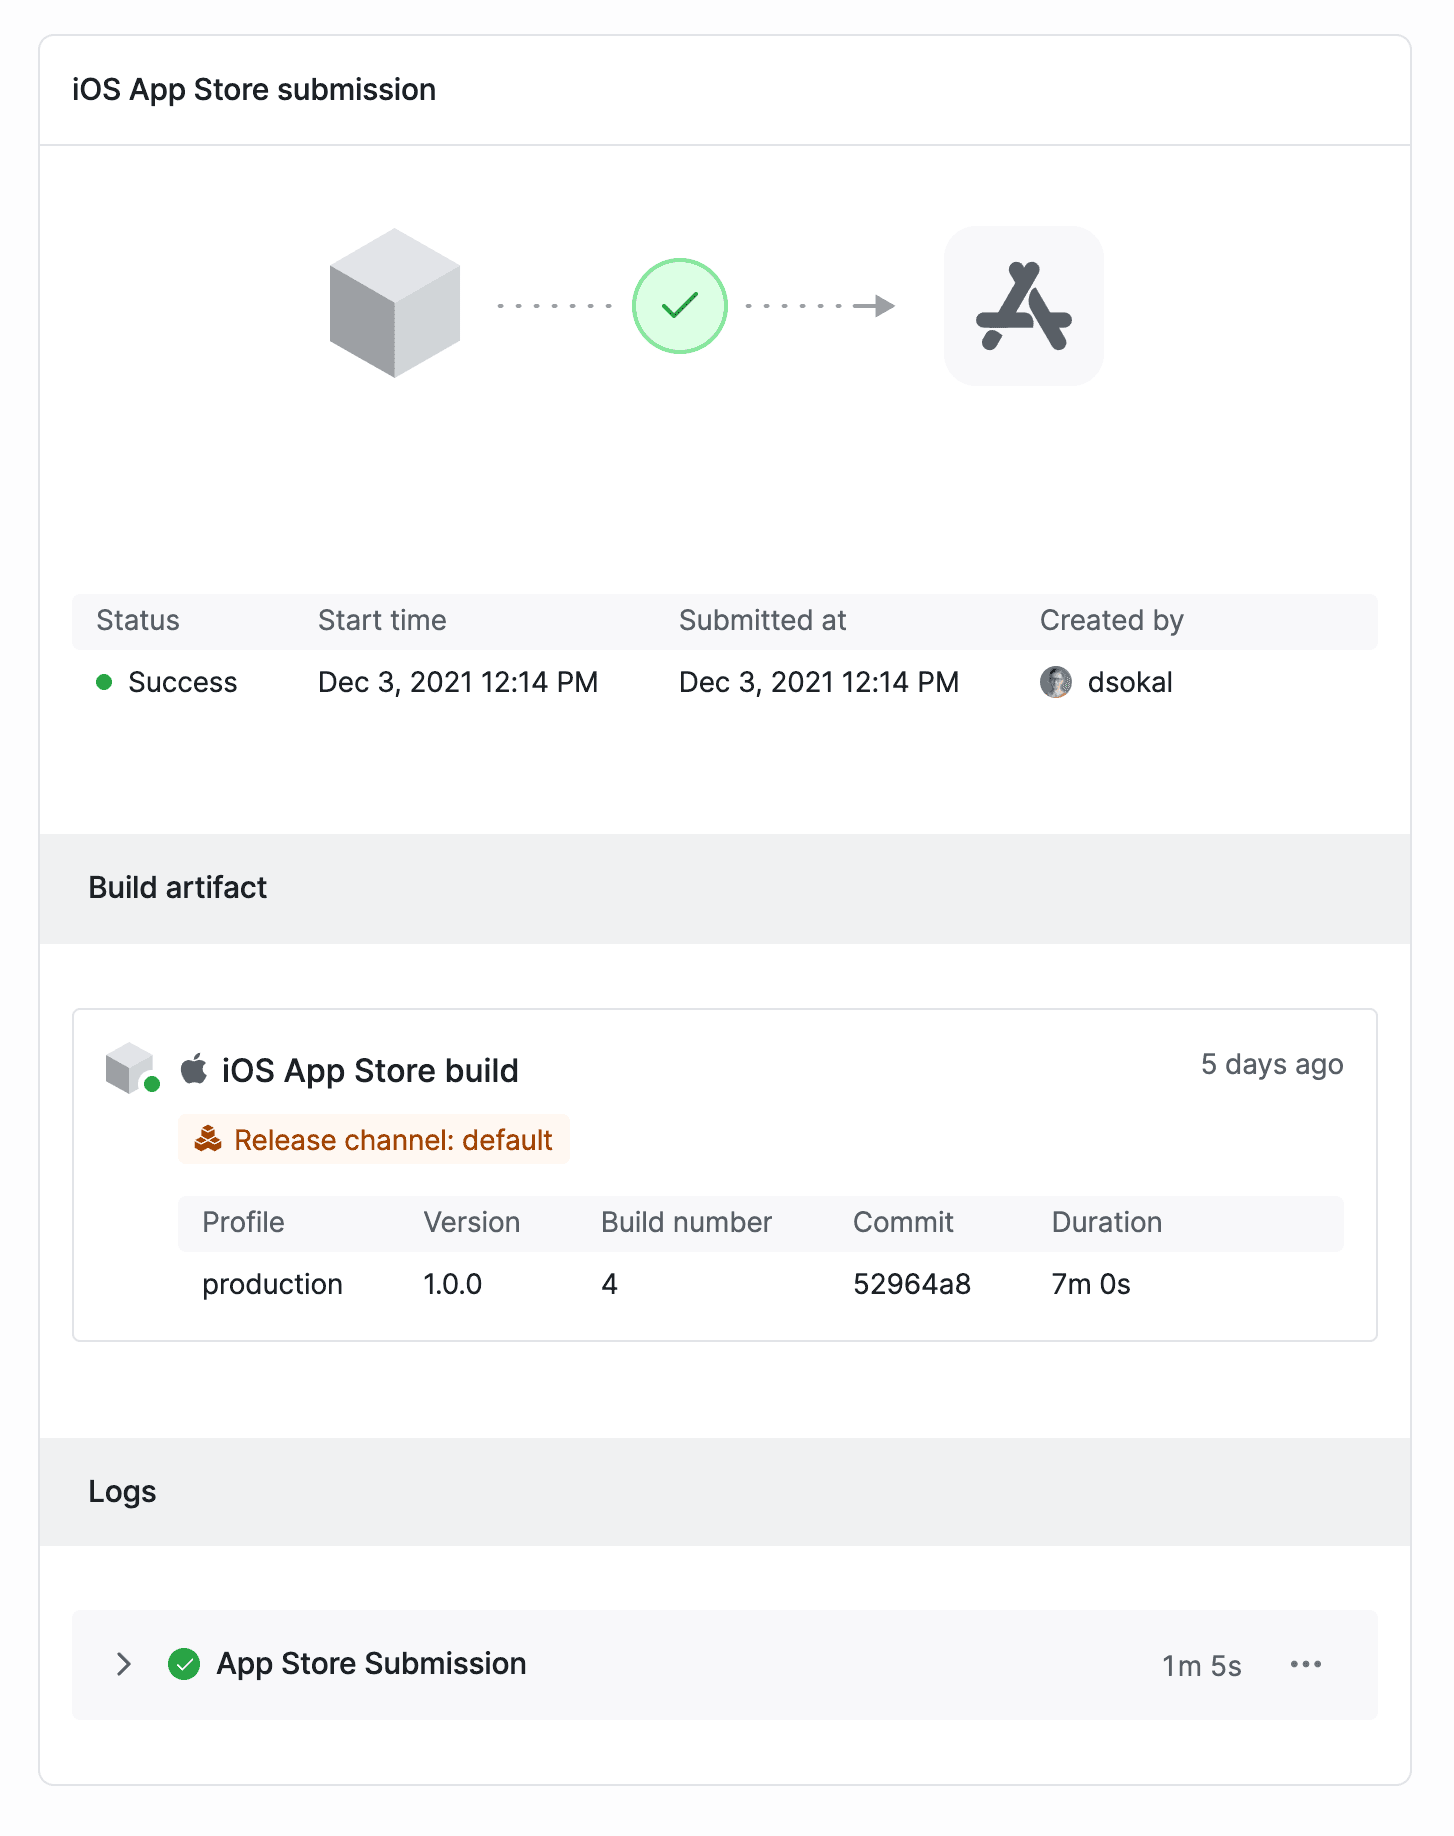
Submitting App to App Store
You have your app archive ready to submit to the app store. EAS Submit can help you out with the task. If you’ve used EAS Build to build the project, you’ll be astonished at how easy it is to submit your latest build to the app store. At the same time, EAS Submit also supports uploading apps that were built elsewhere.
The only limitation of the app submission process is that you’ll have to upload your first Android build to the Google Play Store manually. This is the limitation of the Google Play Store that will hopefully be overcome in the future. iOS part of the task is more straightforward - you can upload your first build to the Apple App Store without manual intervention.
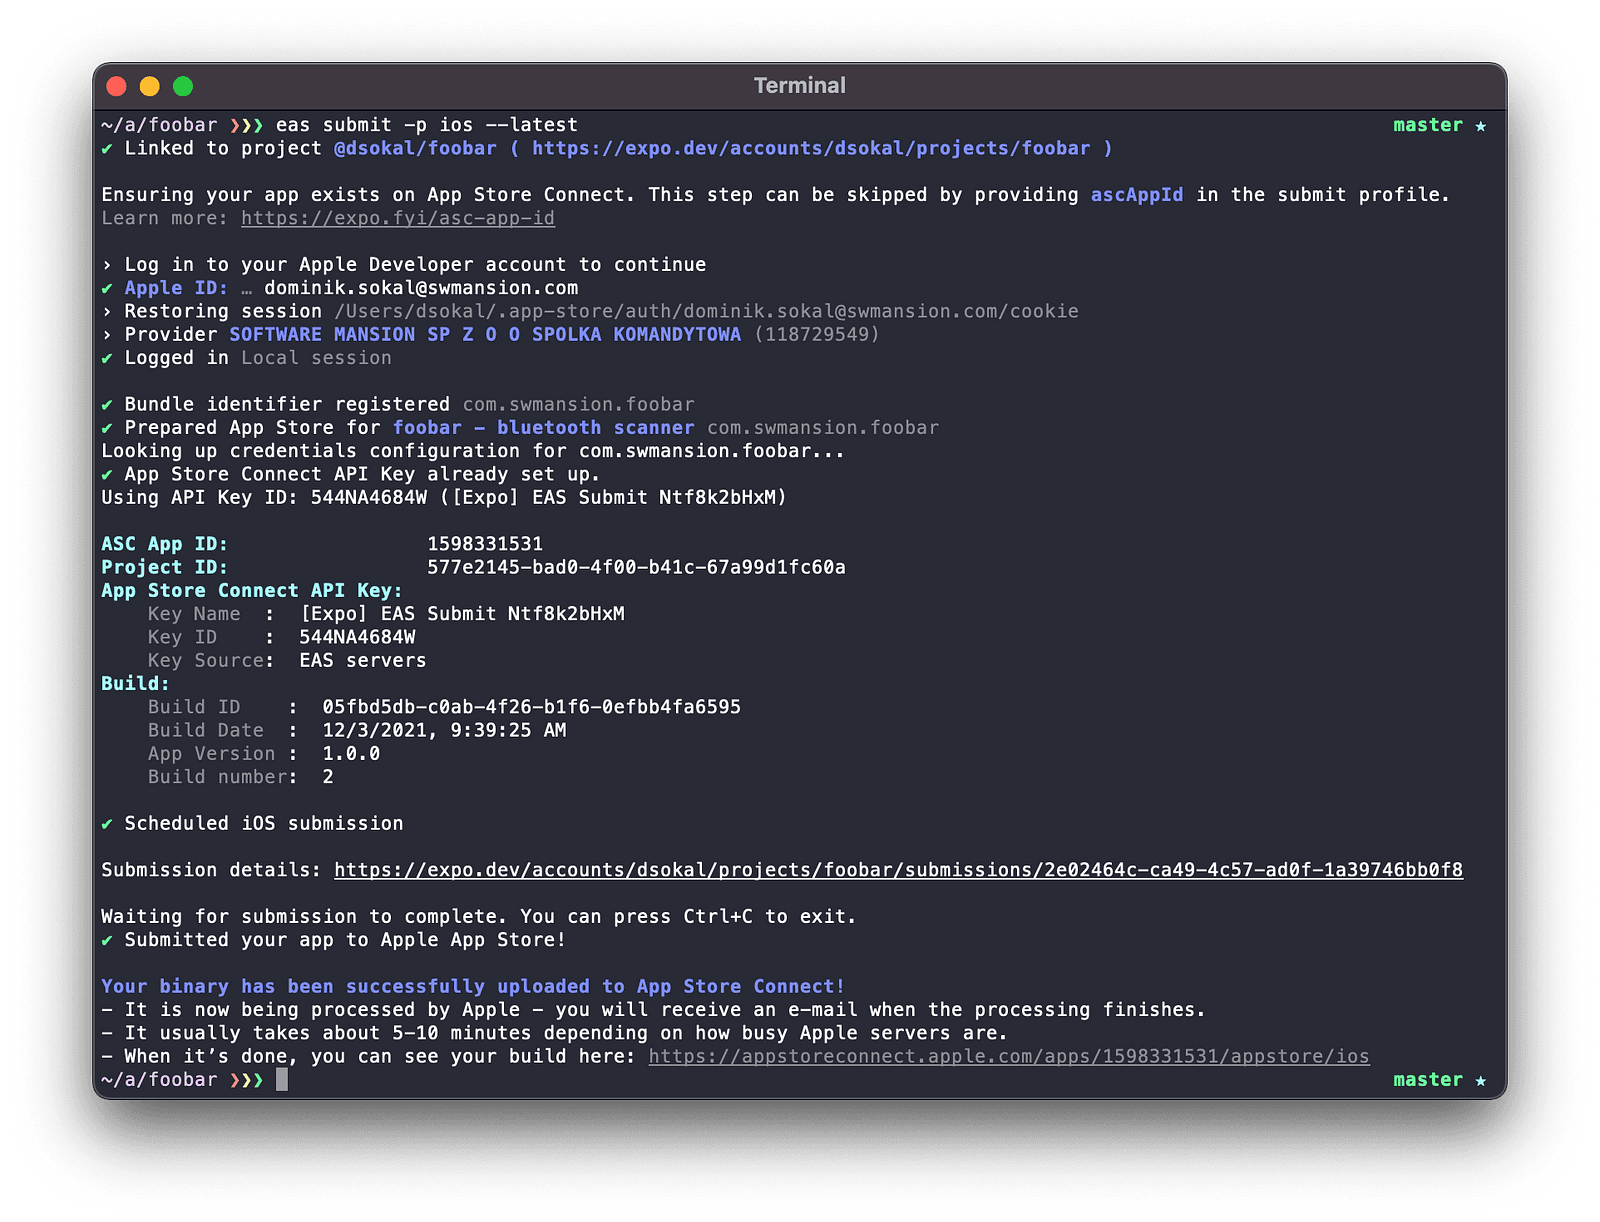
Run eas submit -p PLATFORM --latest to submit the latest build to the app store. If you haven’t used EAS Submit before, EAS CLI is going to ask you for your Apple ID credentials (to generate an API Key) or Google Service Account Key. If you choose to store the API keys on EAS servers, all subsequent submissions are going to be already pre-configured.
Automating Build & Submit Process
As you’ve already seen, EAS Build & Submit can make your app development workflows easier for you and your team. However, this is not yet everything that EAS has to offer. You can further automate your workflows with automatic build submissions. That is, you can tell EAS to submit your app to the appropriate app store on a successful project build. To do so, run the build the same way as previously but add the --auto-submit flag. If you want to build your project for both Android and iOS, and upload the builds to the app stores afterward run eas build -p all --auto-submit and enjoy your cup of coffee - EAS is going to take care of the rest.
If the EAS-provided automatic submissions are not flexible enough for you, you can always take advantage of build/submit webhooks. You can build an HTTP server, expose the API to the Internet, and register it with eas webhook:create. Your API endpoint will be called with all relevant metadata on every successful or failed build/submit. You can, for instance, implement your own logic that’s going to upload your Android build to alternative stores that are not yet supported by EAS.
Focus On Important Things
Building and submitting Expo/React Native projects has never been easier than now. There has always been a not-well-answered question in the community — “Should I use Expo or React Native?”. The answer seems obvious now — “It doesn’t matter, but Expo is the right choice if you want to save time.”. With EAS Build & Submit you can focus on what’s the most important for the success of your mobile app — the app itself.