Controlling and Customizing Animations in Reanimated 2
 Krzysztof Magiera•Jul 23, 2020•11 min read
Reanimated 2 was published almost two months ago. Since then, we collected a lot of important feedback from the community that allowed us to enhance many aspects of the library. One important ask from the community that we get quite often, is to publish more content on the library architecture and API. We understand how important it is for a new library to have learning resources available and we’ve been working on that for quite a while.
We’ve already published two blog posts explaining new concepts introduced in Reanimated 2 (check our announcement post and the post about Shared Values). We organized a webinar as a part of Software Mansion Academy that is now available to watch on Software Mansion’s YouTube channel. Finally, we’ve been doing continuous improvements to our newly released documentation website, both to reach full coverage of public API methods (with examples) and to offer a comprehensive guides section. In this post, we focus on explaining different ways on how animations can be controlled and customized in Reanimated 2.
Reanimated 2 comes bundled with a number of animation helper methods that makes it very easy to go from immediate property updates into animated ones. In our previous post about Shared Values we learned about the useAnimatedStyle hook that allows for creating an association between Reanimated code and view properties. We also learned how to perform animated transitions of Shared Values. This, however, is not the only way how animations can be started. On top of that, Reanimated provides a number of animation modifiers and ways how animations can be customized. In this article we cover this and other topic related to running animations with Reanimated 2.
Shared Value Animated Transitions
One of the easiest ways of starting an animation in Reanimated 2, is by making an animated transition of a Shared Value. Animated Shared Value updates require just a tiny change compared to immediate updates. Let us recall the example from the Shared Values post, where we’d update a Shared Value with some random number on every button tap:
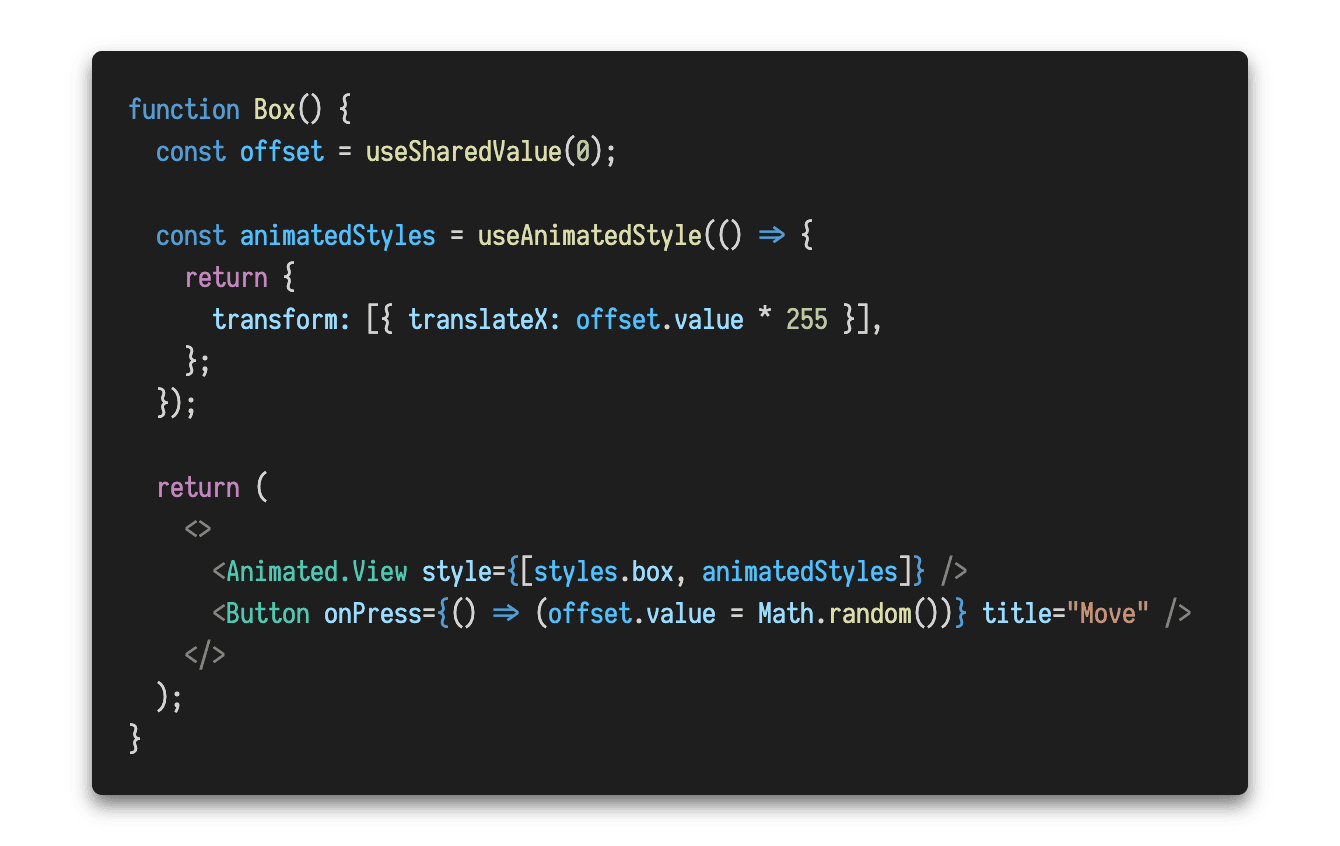
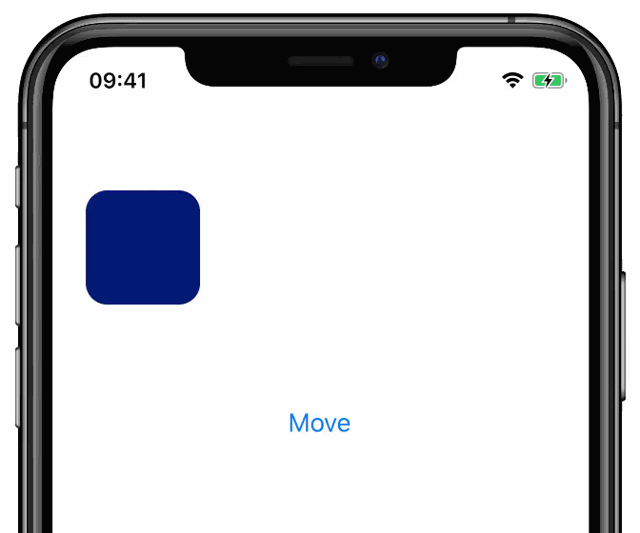
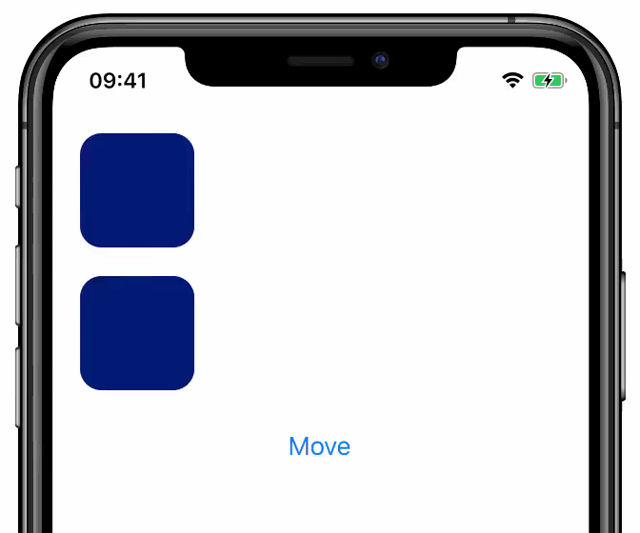
In the above example we make immediate updates to the offset Shared Value upon a button click. The offset value is then mapped to a view translation using useAnimatedStyle. As a result, when we tap on the “Move” button, the animated box jumps to a new, random location as presented below:

With Reanimated 2, such Shared Value updates can be transformed to animated updates by wrapping the target value using one of the animation helpers, e.g., withTiming or withSpring. The only change that we can do now, is to wrap random offset value in withSpring call as shown below:
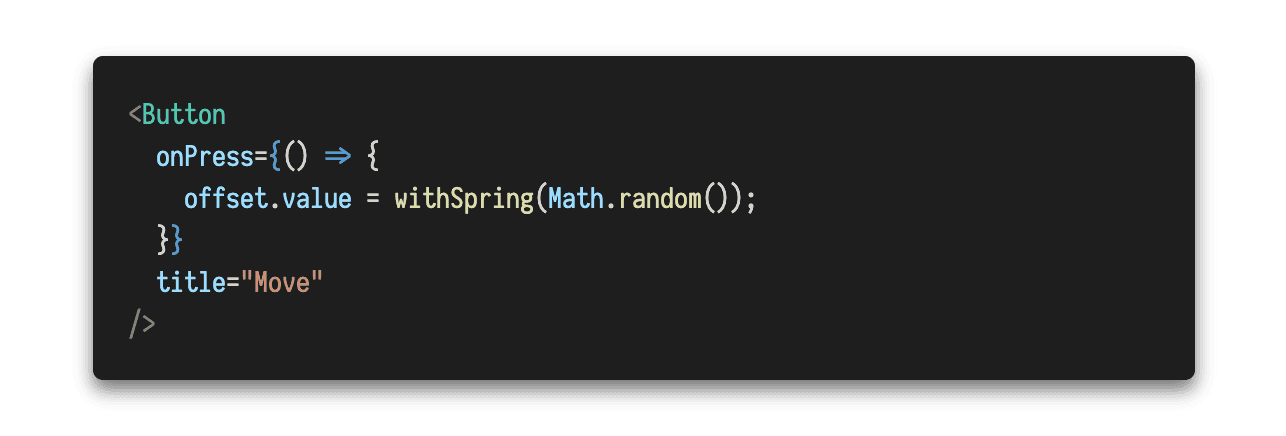
This way, instead of assigning a number to Shared Value, we make an animation object which is then used to run updates on the Shared Value until it reaches the target. As a result, the `offset` Shared Value transitions smoothly between the current and the newly assigned random number, which results in a nice spring-based animation in between those states:
Animations in useAnimatedStyle hook
Animated Shared Value transitions are not the only way to initiate and run animations. It is often the case, that we’d like to animate properties that are not directly mapped onto a Shared Value. For that, in Reanimated we allow for animations to be specified directly in useAnimatedStyle hook. In order to do this, you use the same animation helper methods from Reanimated API, but instead of using it when updating a Shared Value, you use it to wrap the style value property:
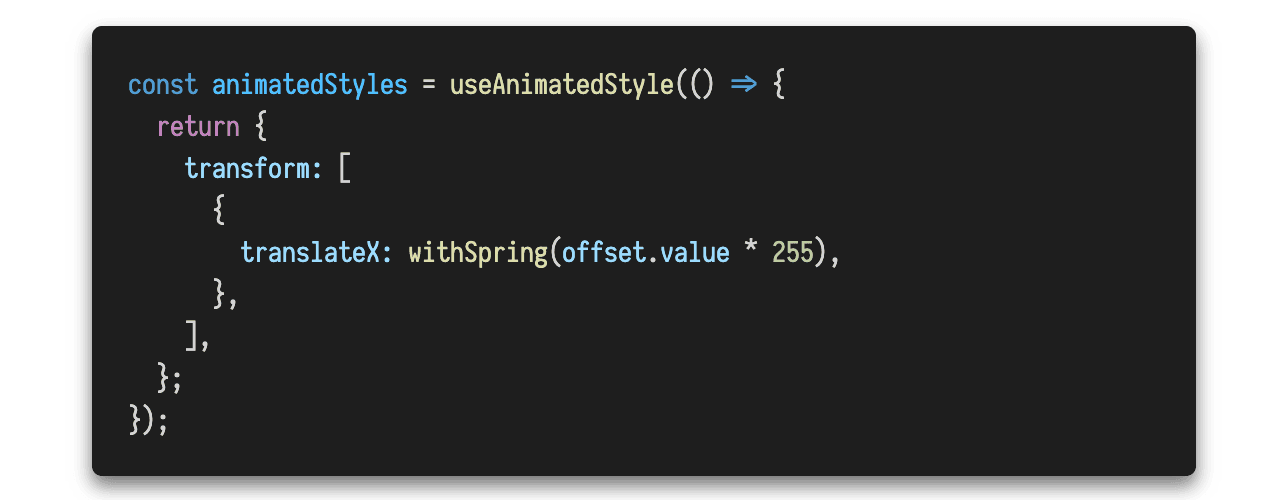
As you can see, the only change compared to the example from the previous section is that we wrapped the value provided to translateX offset in withSpring call. This tells the Reanimated engine that all updates made to translateX offset should be animated using spring. With this change added, we no longer need to make animated updates to the offset Shared Value, and can keep those updates being “immediate”:

As a result, we will get the exact same behavior as when doing animated updates of the offset value. However, in this case we move the control over how value updates need to be performed from the place where we make Shared Value amends to the place where we define the View styles. This approach is more convenient in many cases, especially when view properties are derived from Shared Value as opposed to the Shared Value being directly mapped to a given style. Also, keeping all the aspects of view styles and transitions colocated, often makes it easier to keep control over your components’ code. It forces you to have everything defined in one place vs scattered around the codebase allowing for animated transitions to be triggered from anywhere.
Interrupting Animated Updates
Animated UI updates, by definition, take time to perform. It is often undesirable to freeze user interactions within the App and wait for transitions to finish. While allowing the user to interact with the screen while style properties are being animated, the framework needs to support a way for those animations to be interrupted or reconfigured as they go. This scenario is fully supported by the Reanimated animations API. Whenever you make animated updates of Shared Values, or you specify animations in useAnimatedStyle hook, those animations will be fully interruptible.
In the former case, when you make an update to the Shared Value that is being animated, the framework won’t wait for the previous animation to finish. Instead, it will immediately initiate a new transition starting from the current position of the previous animation. Interruptions also work correctly for animations defined in useAnimatedStyle hook. When the style is updated and the target value for a given property has changed compared to the last time when the style hook was run, the new animation will launch immediately starting from the current position of the property.
Customizing Animations
Reanimated currently provides three built-in animation helpers: withTiming, withSpring, and withDecay. As there are ways of expanding that with your own, custom animations (animation helpers are built on top of the worklets abstraction), we are not yet ready to document that since we still plan some changes of that part of the API. However, the built-in methods along with the animation modifiers (that we will discuss later on), already provide a great flexibility.
Each of the built-in animation helpers takes a different set of configuration options, because the animations they run differs. Timing based animations are constrained by the given duration, while spring-based animations can take as much time as is needed to transfer the value from its current state to the given target. They can be configured by adjusting the spring physics rather than the timeline.
Let us look at an example of how spring animations can be configured in Reanimated 2. Below we present a sample app that renders two blocks, one that will react with the default spring settings, and the other that has some of the spring parameters tuned.
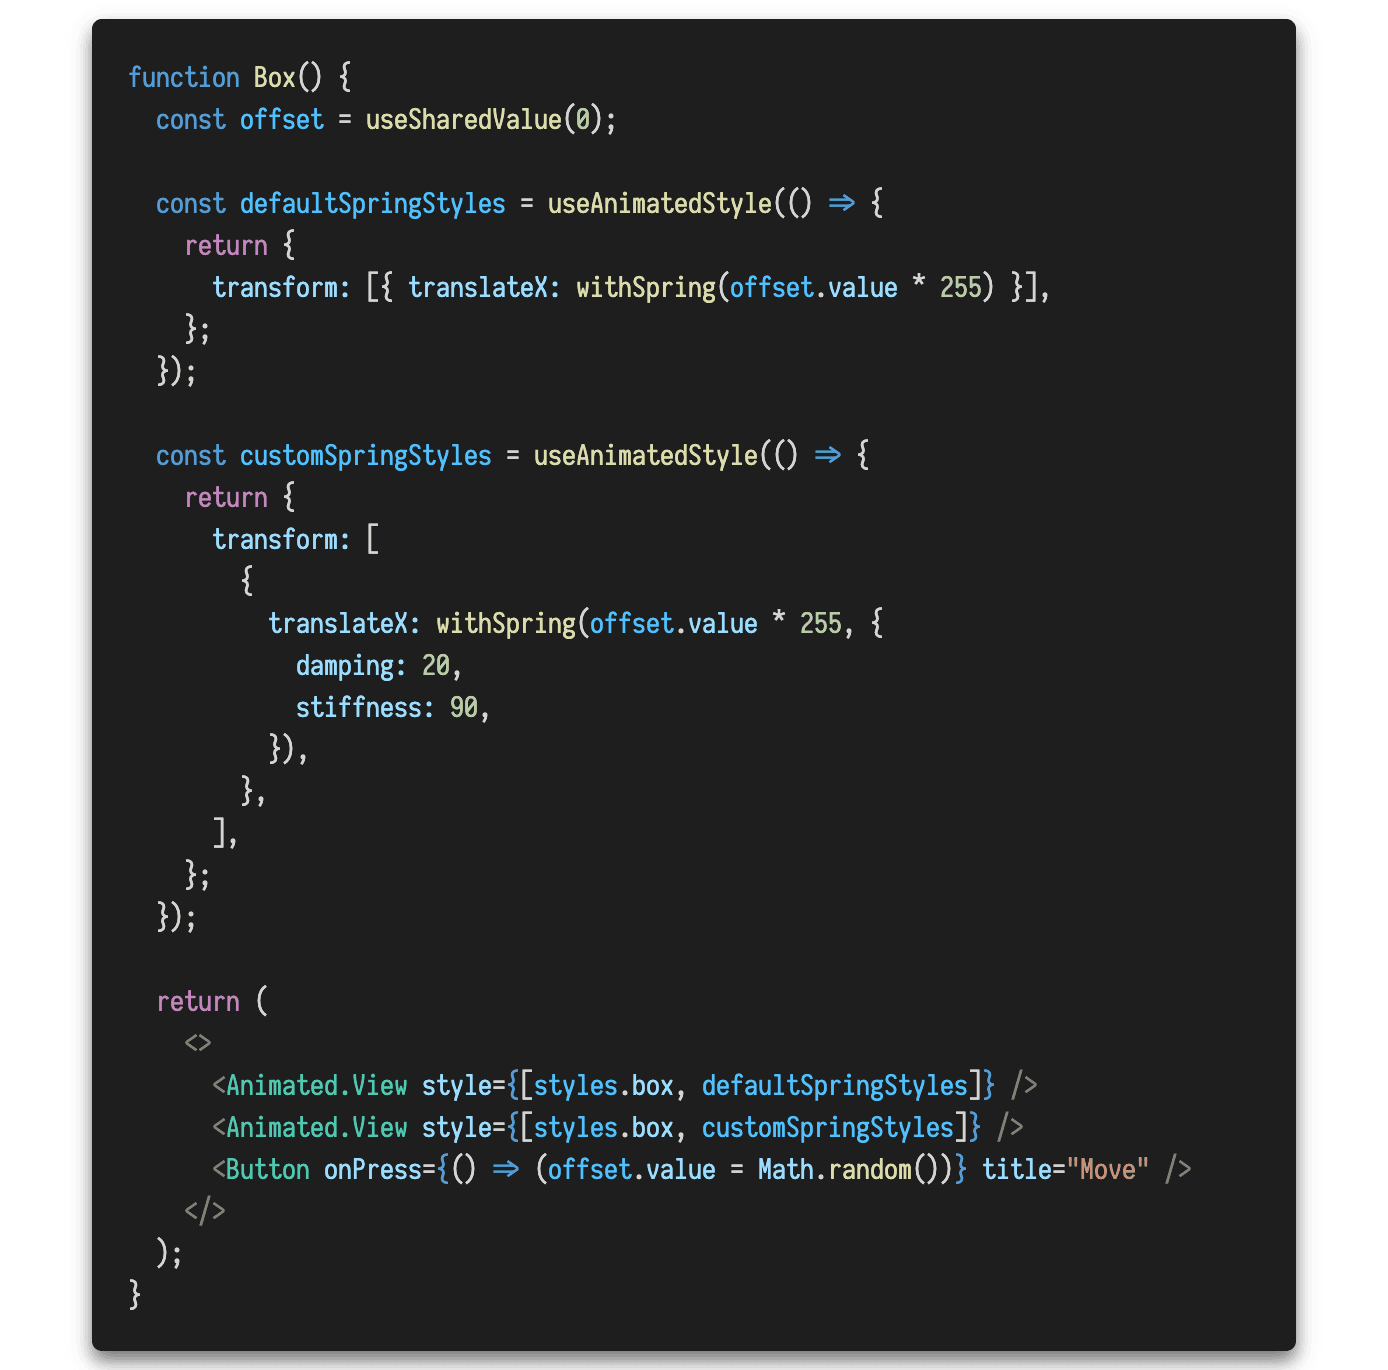
Unlike in the first example, here we define an animation in the useAnimatedStyle hook. This makes it possible to use a single Shared Value, but map that to two View’s styles. For the list of supported configuration options please check withSpring documentation. You may also want to check other animations sites to see what different sets of the parameters they support (here are links to withTiming and withDecay sites).
Animation Modifiers
Beside the ability of adjusting animation options, another way of customizing animations is by using animation modifiers. Currently, Reanimated exposes three modifiers: delay, sequence and repeat. As the name suggests, delay modifier makes the provided animation to start with a given delay, the sequence modifier allows a number of animations to be provided and will make them run one after another. Finally, the repeat modifier allows for the provided animation to be repeated several times.
Modifiers typically take one or more animation objects with optional configuration as an input, and return an object that represents the modified animation. This makes it possible to wrap existing animation helpers (or custom helpers), or make a chain of modifiers when necessary.
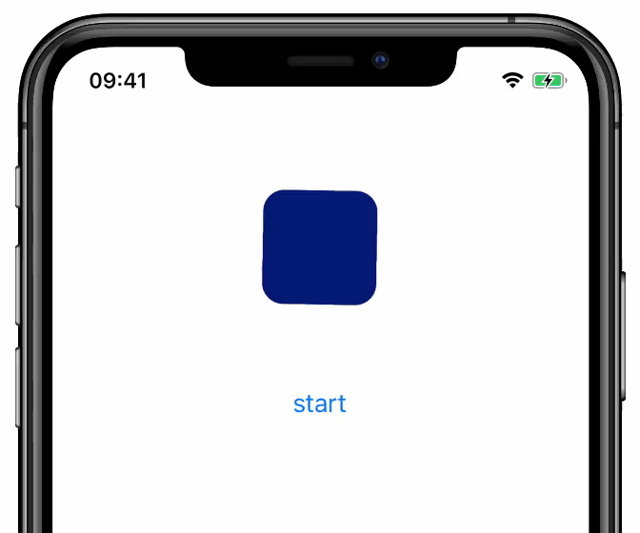
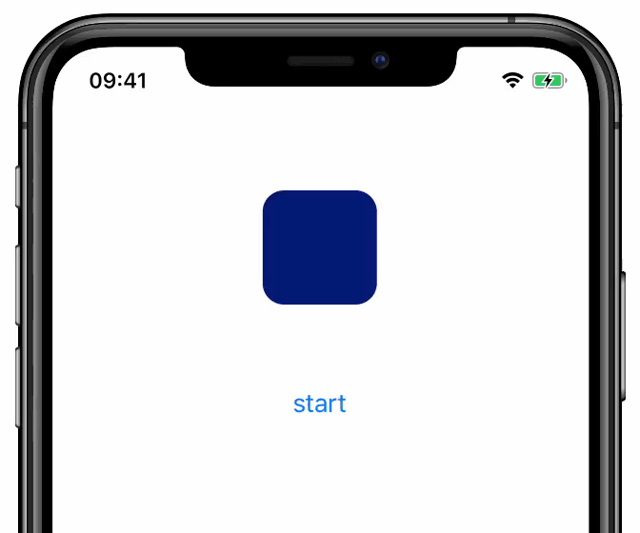
Let us now exercise the use of modifiers in practice and build animation that causes a rectangular view to wobble upon a button click. We start by rendering the actual view and defining rotation Shared Value that we then use to run the animation:
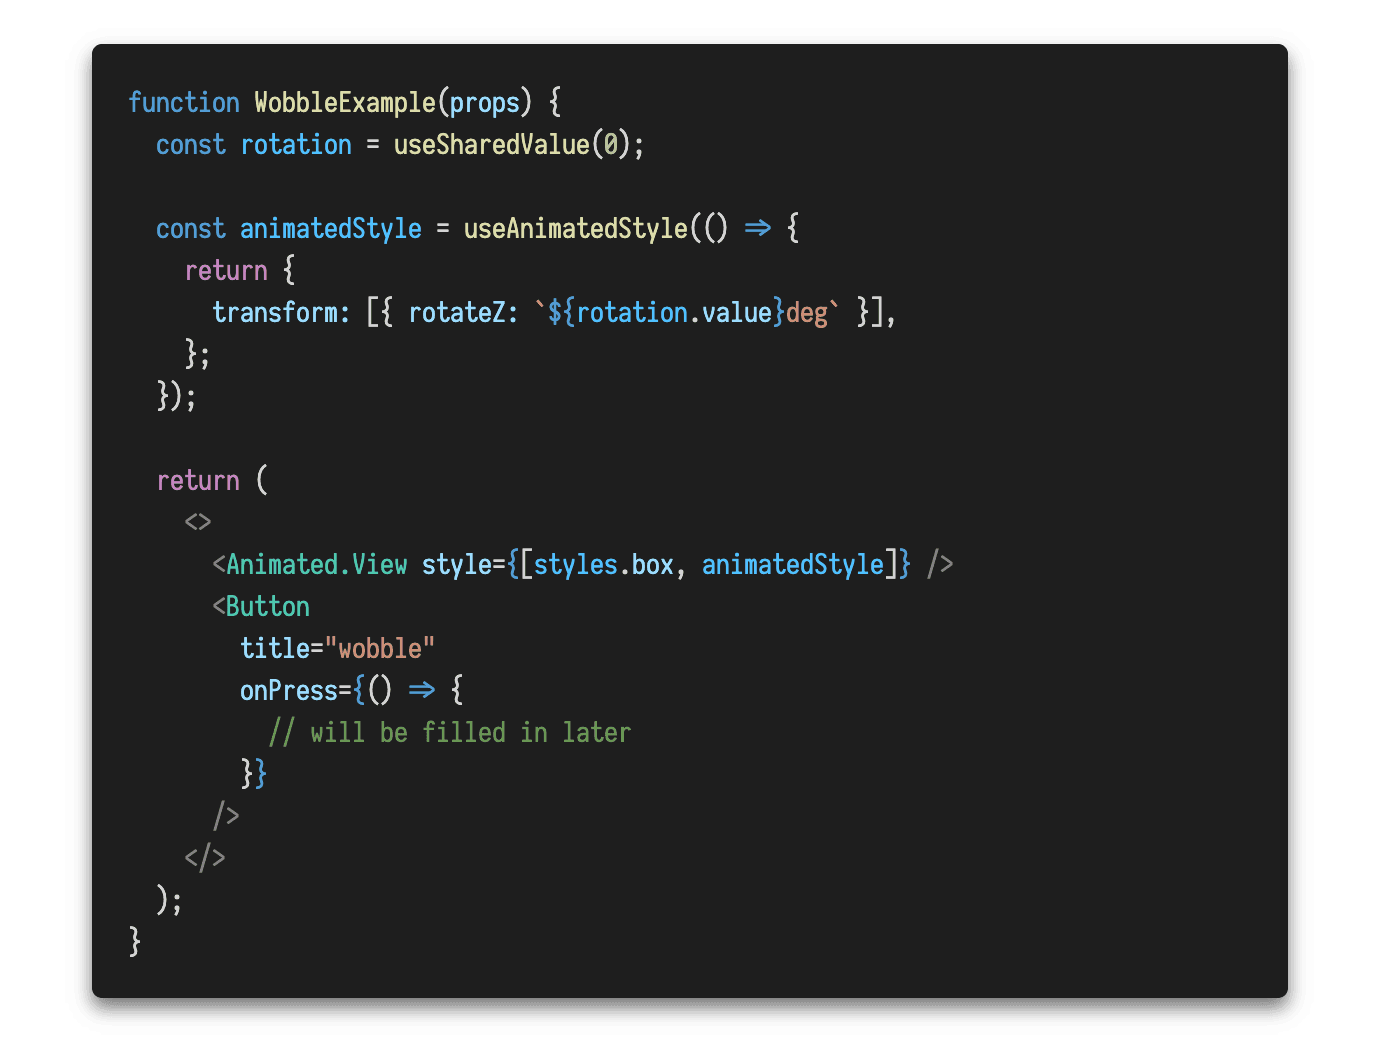
In the above example we make a Shared Value that will represent the rotation of the view. Then, in useAnimatedStyle we map that variable to the rotation attribute by adding a “deg” suffix to indicate the angle is expressed in degrees. Let us see how we can now make the rotation animate back and forth using modifiers, here is what we can put in the button’s onPress handler:

The above code will cause the view to run six repetitions of timing animation between the initial state of the rotation value (that is 0) and value 10. The third parameter passed to the repeat method makes the animation to run in reverse every other repetition. Setting the reverse flag to true will result in the rotation doing three full loops (from 0 to 10 and back). At the end of all six repetitions the rotation will go back to zero. Here is what will happen when we click on the “wobble” button:
The above code makes the rotation only go between 0 and 10 degrees. In order for the view to also swing to the left, we could start from -10 and go to 10 degrees. But we can’t just change the initial value to -10, because in such a case the rectangle will be skewed from the beginning. One way to solve this is to use a sequence modifier and starting from 0, do the first animation to -10, then swing the view from -10 to 10 several times, and finally go from -10 back to 0. Here is how the onPress handler will look like:
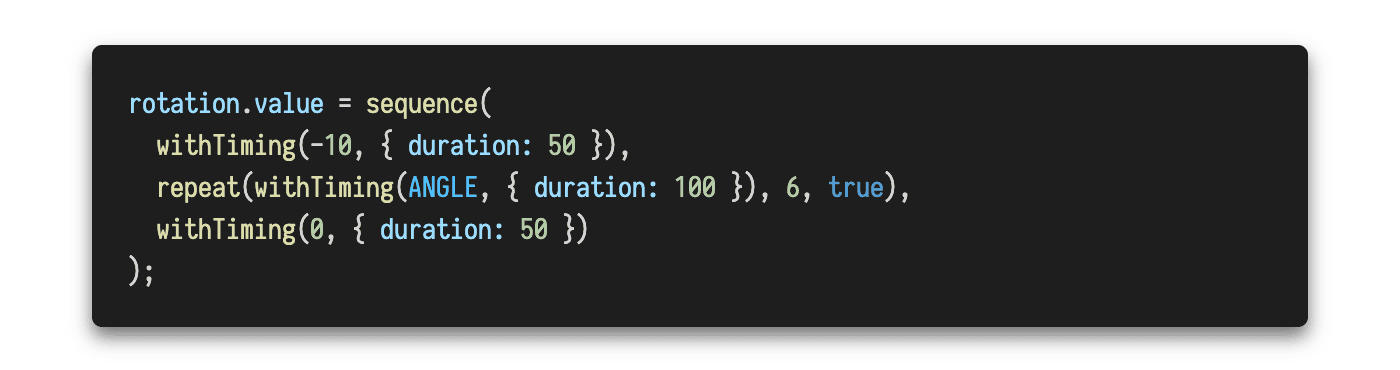
In the above code we put three animations in a sequence. First, we start a timing to the minimum swing position (-10 degrees), after that we start a loop that goes between -10 and 10 degrees five times (same as in the previous implementation). Finally, we add a finishing timing animation that makes the rotation go back to zero. For the surrounding timing animation we pass a duration that is half of the duration we use for the looped animation. It is because those animations make half the distance, thus this way we maintain the similar velocity for the initial, middle and finishing swings:
Animating Layout Properties
Reanimated makes it possible for animations to be executed by completely avoiding the main React Native’s JavaScript thread. Thanks to the animation runner being completely isolated, the application logic (rendering components, fetching and processing data, etc) cannot impact the performance of animation and hence allows to avoid many unpredictable frame drops. Developers who are familiar with React Native’s Animated API and the concept of Native Driver may already understand this benefit, and also know that the use of Native Driver is limited to some subset of view properties. This, however, is not the case in Reanimated which supports animations of all native properties without generating any load on the main JavaScript thread (including layout properties like width, flex, etc.). This, in fact, was already the case since the first version of Reanimated but we’d like to emphasize that again as we receive questions around this topic from time to time.
When discussing animated updates of layout properties, however, it is important to note that even though we avoid calling into the main JavaScript thread, some of the layout updates can be really expensive and cause significant delays despite being run on the native threads. An example where the layout property update can be expensive is a change of flex-direction on a container with many items. Such a change will cause each of the items to reposition and also change their dimensions. The change of the dimensions for each of the views may trigger further layout recalculations of the nested views down to the leaf nodes. As you can see, a single property change can trigger a lot of recomputation. It may perform just fine when we need to fire it once, but if we decided to run such computation during animation for every frame, the outcome may not be satisfactory especially on low-end devices. As we work to improve performance of complex layout updates in Reanimated 2, when you experience issues that are the effects of heavy layout computation on every frame, we recommend that you try Reanimated’s Transition API or React Native’s LayoutAnimation API.
Is There More?
As we work on expanding documentation and resources on Reanimated 2, there is new content being added every couple of days. We just finished a new guide on animations that covers a few more details about the new API outside of what has been discussed in this article. We recommend that you also visit Reanimated’s API Reference for a complete list of animation helpers’ and modifiers’ options. As we publish more content on Reanimated 2 we will be sharing it via our social media channels, so go and follow Software Mansion on Twitter or here on Medium to be notified when the new content is out.
Reanimated 2 is brought to you by Software Mansion and Shopify.